The Wimbledon Half-Marathon Vlog
In this project I wanted to explore some new techniques in DaVinci Resolve. With it being a relatively short video, I had scope to add some new cool features to step up my video editing skills.
My first thought was to have an animated map that followed the path we ran. I wanted to do this because I failed to do it in the Dolomites Vlog video and I wasn’t going to fail again. This time however, I took a less ambitious approach and started with a simple line that traces the path of the run. Surprisingly, it was extremely easy - like really easy…it took 5 minutes after watching a short YouTube video by @JorisHermans. This simple technique finally exposed me to one of the main DaVinci tools - the Fusion tool which I had never touched before. Following the same simplistic design philosophy, I decided to adopt the Strava orange for the traced line, and combine that with the blue location tracker from Google Maps. Why not take inspiration from the best map’s out there right? It was an easy job to replicate the “Magic Blue Dot” using Figma.
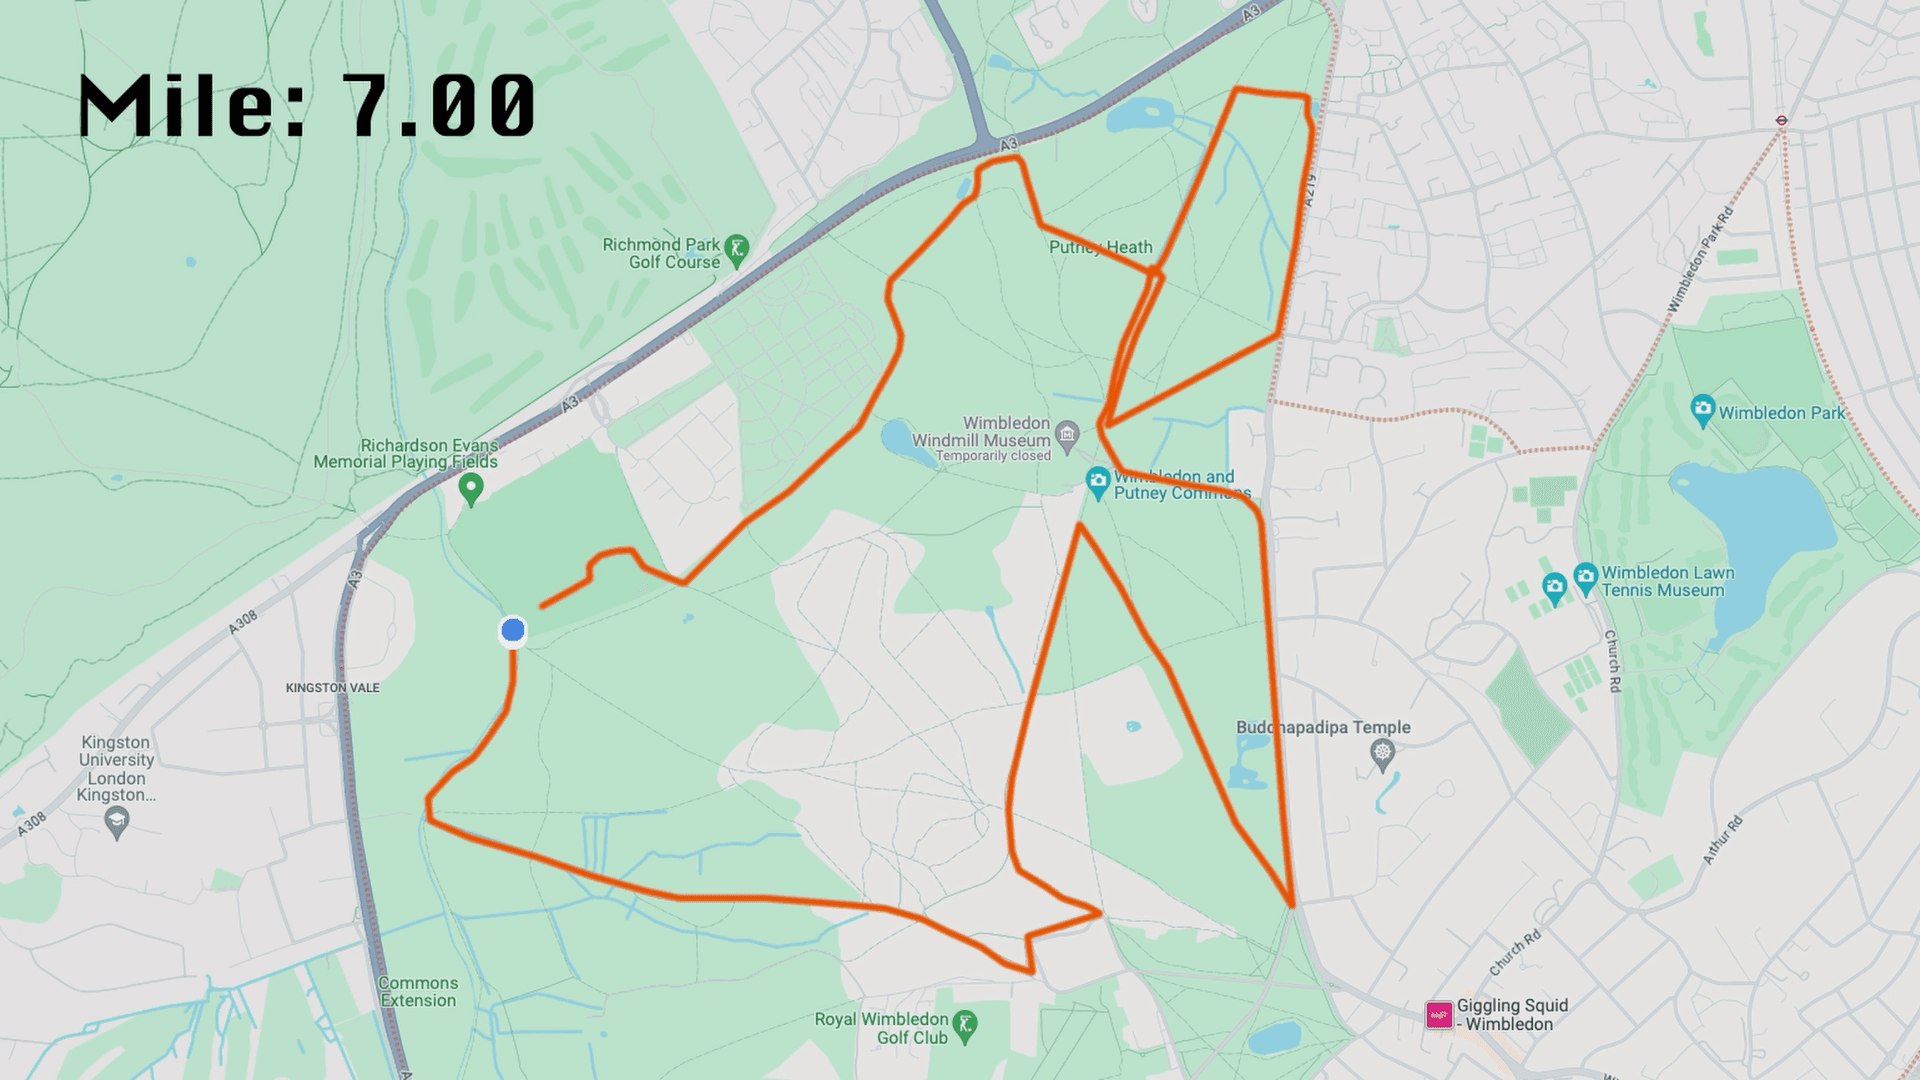
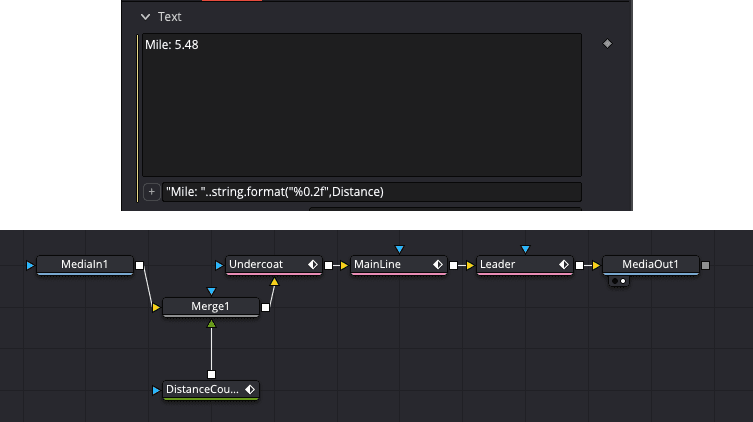
Since this was relatively easy, I wanted to add one extra detail to the animation to make this a bit more challenging (and fun). I decided to add a mile counter in the top left, which would perfectly sync with the distance travelled by the Magic Blue Dot around the course. Funnily enough, this was the hardest part of the video. To make this feature, I had to make a text block in the Fusion section and create an animated text box. To animate a text box, you are able to edit the ‘control’ of a the text box and thus customise how the value within the text box changes. By choosing the SliderControl option within the ‘Edit Control’ section, (full tutorial here), DaVinci gives you the option to adjust the slider at different frames throughout the animation. Cleverly, DaVinci assigns this slider value to a variable that you can call within the Text input box. In this case, the text box’s value was simply equal to the variable Distance as shown below, which was set to two different values at the first and last frame of the trace animation.
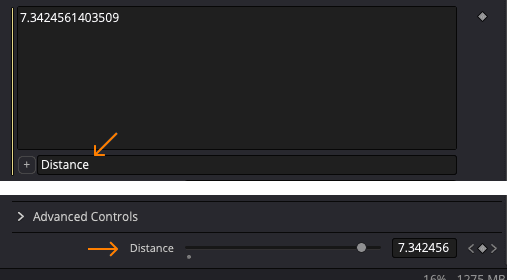
Between these two keyframes, DaVinci would do the hard work and increment the number by the appropriate amount each frame. However, the issue that arose was that DaVinci would display every decimal place. A common fix to this issue was to extract certain characters from the string via its index, using the ‘string.sub()’ function. For example, for the number 15.8432, extracting characters 1-4 would leave us with 15.8. This worked fine for most numbers, however for 7.0547, for example, the single-digit meant that extracting the 4th character as we did in the previous example, would leave us with 7.05 - two decimal places instead of the one. This provided an inconsistency in the numbers after the distance increased above 10. Clearly, this was not a valid solution. Instead, I used the ‘string.format()’ function which allowed me to specify the number of decimal places to be displayed for a given number. This solution worked perfectly. Problem solved!
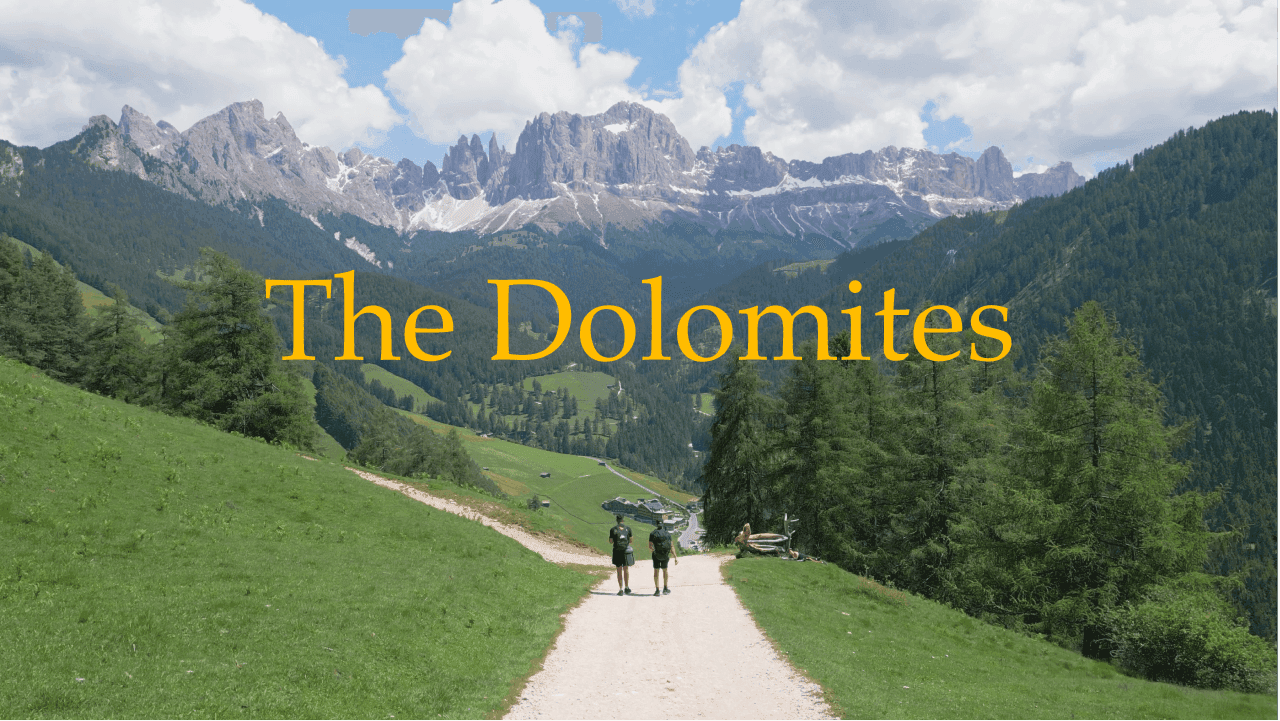
I also wanted to take this opportunity to improve on a few things that were not perfect in the Dolomites Vlog.
The titles in the Dolomites Vlog felt bland and did not fit the theme as best as they could have. In this video, I tried to give the titles and text a bit of personality by using the classic yellow cinematic titles as well as using the unique font of Krungthep.
The Dolomites Video also did not have perfect backing music, so I tried to make the music within this video a bit more coherent and prominent. I think these tracks suit the moods of the Marathon day - upbeat, exciting, and cheerful!
There is still a lot of work to do in the way of video editing, but I think I am slowly building these skills with each video I publish. Thanks for reading.
